Not long ago, I visited a framer friend who was in the midst of moving his shop. "Want any of this stuff?" he asked, waving his hand over an assortment of matboards, museum glass pieces and frames—items he had cut or built for customers that never made it out the door and that he didn't want to move. Among this miscellany was a beautiful large frame with a double-mat and museum glass, just waiting for a suitable pastel painting. I took what I could fit in the car and also this frame. I figured, some day, I'd paint a pastel for it.
That was about a year ago. I came across the frame in my studio recently and, having some time, decided the moment had come. I embarked on painting "Autumn Splendor," a 20x28 pastel. I thought I'd share step-by-step photos I took of it while painting.
The first thing I had to do was mount the paper. I most often paint on UArt, which has an unfortunate tendency to curl. It's a powerful curl that doesn't want to lay down flat, even with tape. For this painting, I needed nearly a full sheet, and I knew there'd be a lot of potential energy in its curl that, were it to suddenly transform into kinetic energy, would be ruinous for a pastel painting. Luckily, I had large sheets of foam board as well as just enough heat-activated BEVA 371 film to mount it. If you don't do a lot of large pastels, you probably don't have much need for a hot mounting press. I don't, as I usually work in smaller formats that don't snap into a curl so easily. But I was able to mount my large sheet quickly with Trina's clothes iron set on "delicate." (BEVA requires a 150-degree heat source to activate the adhesive.) I don't have photos of the mounting process—I was too busy playing Twister with iron and impending curl—but if you follow the directions that come with the film, it does go smoothly.
(I wrote about BEVA film in an article for
The Artist's Magazine with regards to mounting a finished oil-on-paper painting.
You can read it here. )
With that in mind, here are the step-by-step photos plus captions to show you what I did.
 |
Line drawing done with a hard, brown NuPastel. Starting to block in with softer pastels. (I have a large box in the studio of miscellaneous pastels, so I'm not sure of the brand. Later I will use Blue Earth Pastels for finish work.) I am working from photo references and plein air field sketches.
|
 |
| Continuing to block in my "best guess" at color. |
 |
| A scary stage! I use a 2" housepainting foam brush to apply Gamsol to liquefy the pastel which both fixes the pigment and also helps cover up the white paper. I encourage the drips and runs, as it gives energy to this underpainting. |
 |
| Close-up of drips and runs. A friend says these look like "ghost trees." |
 |
| Starting to apply the next layer of pastel. I re-state the drawing of the cliff with very dark brown pastels. |
 |
| Defining the cottonwood trees better against the cliff, and adding more form to the lake foreground. |
 |
| Adding more color. Also, I punch up the contrast around that cottonwood to the right of the cliff by increasing the value of distant, sunlit water. Also working on modelling the form of the cliff. |
 |
| More refinements... |
 |
| ...and even more refinements. |
 |
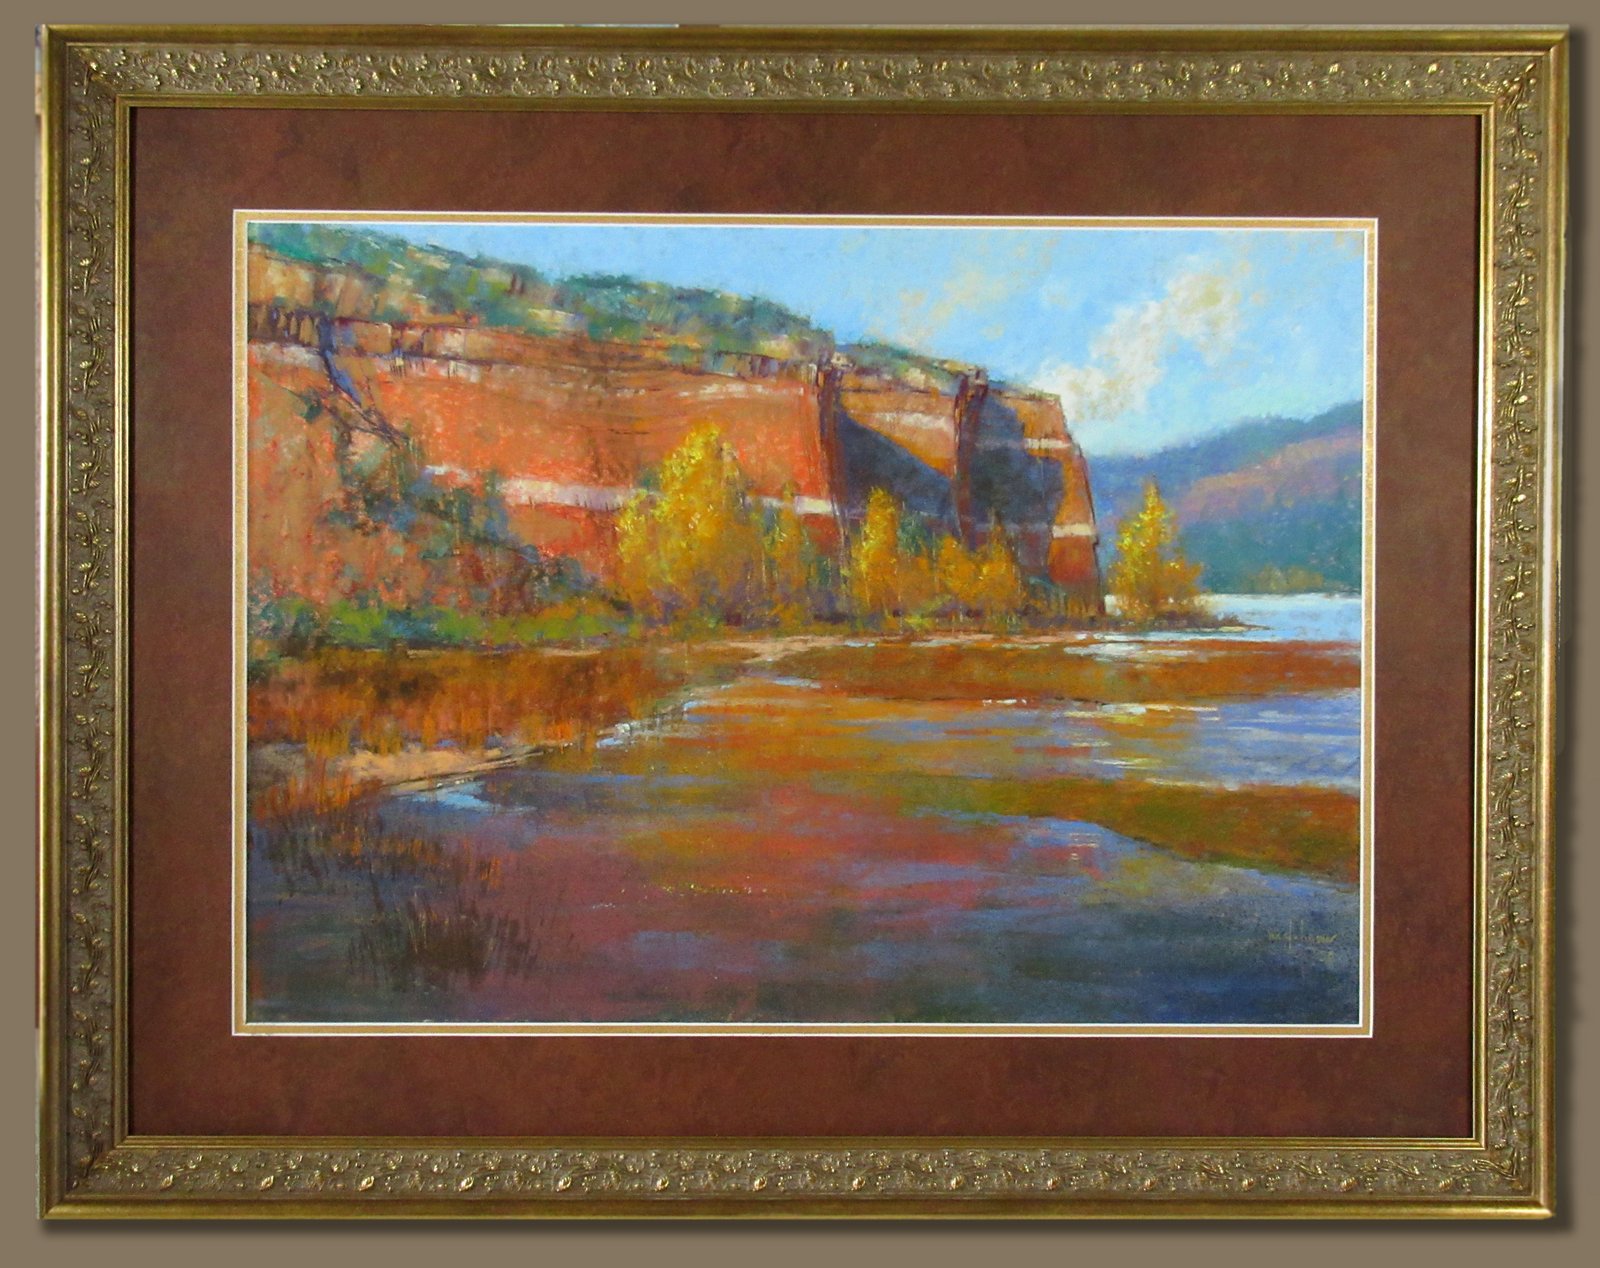
| Finished painting in that nice frame I got from my framer friend. |
 |
| Studio setup. |
 |
| Fashion shot. |
 |
| Another angle of the studio setup. |