View in browser
 |
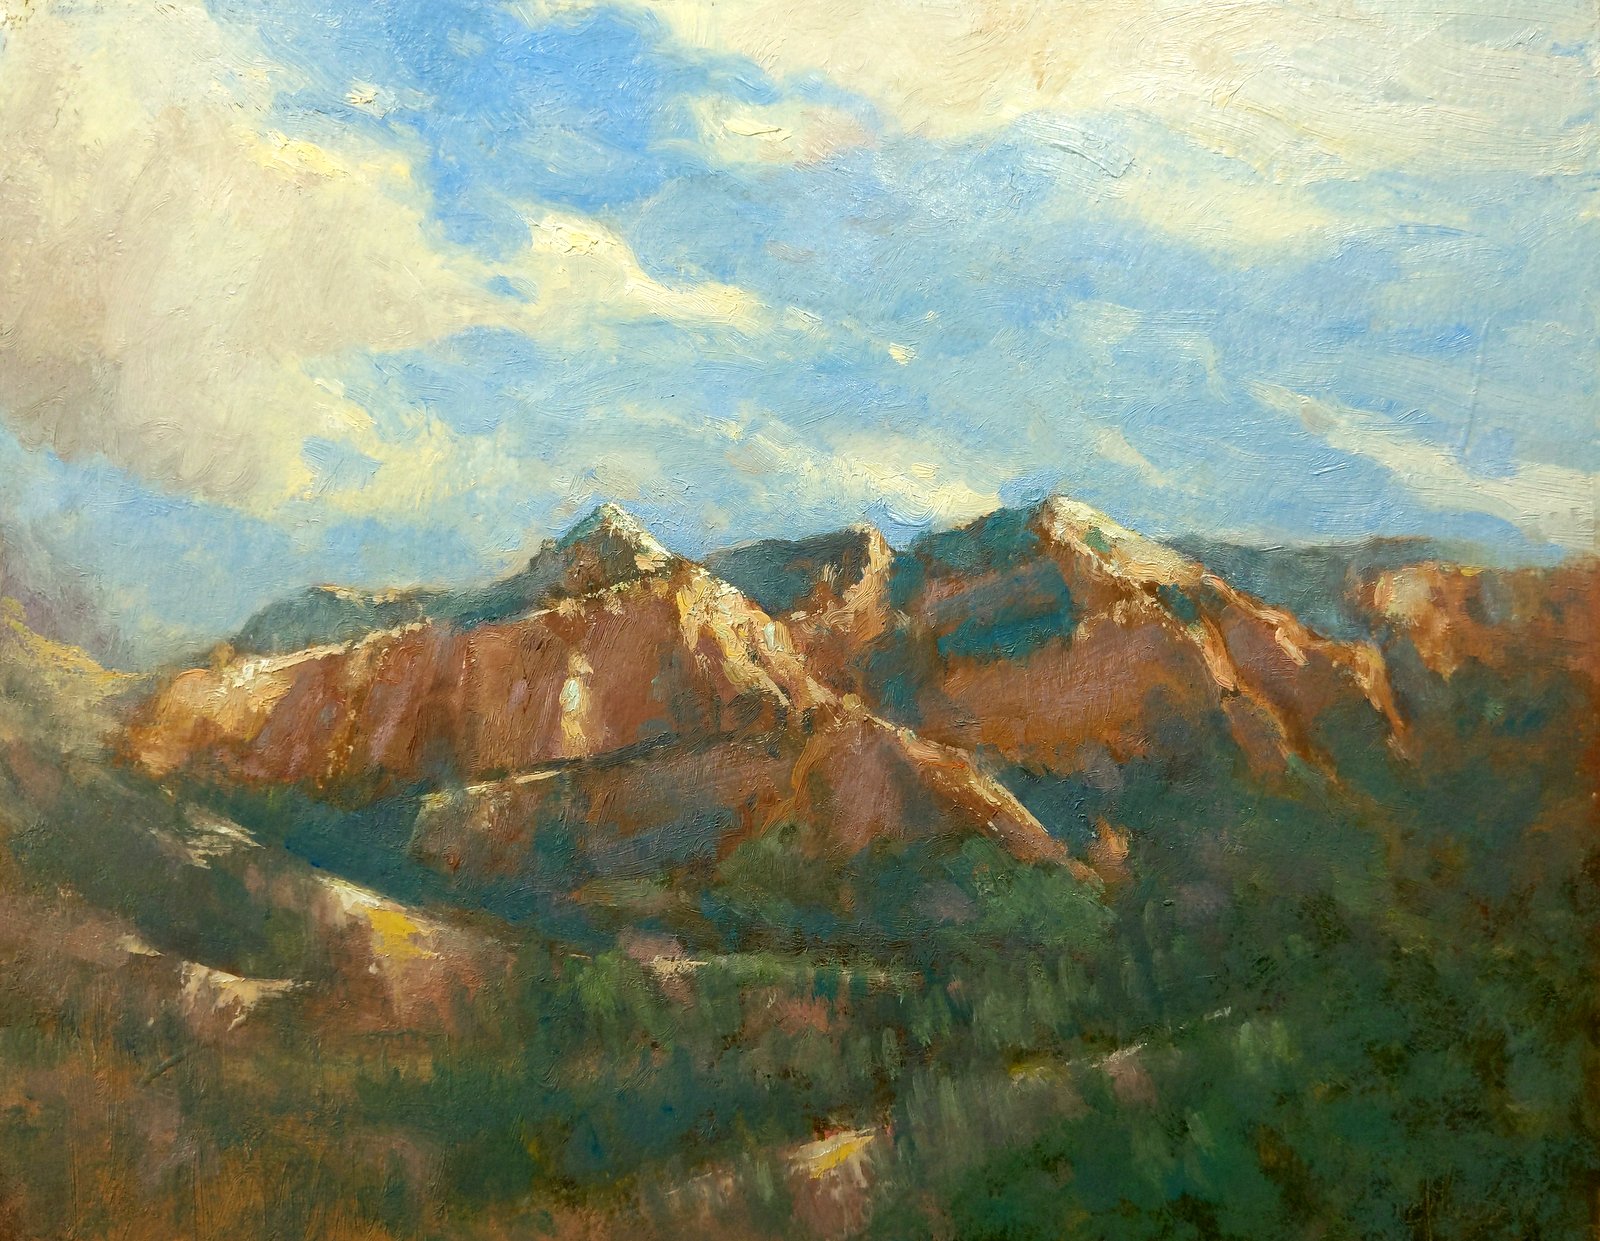
Madeover: "Clouds and Peaks"
12x16 Oil / Available
Read About My Process Below |
We've all been here:
With bold confidence, I apply the last stroke of paint. I step back, feeling pretty good about this one. Yes, indeed, I've made a fine painting. I pack up my gear, satisfied, and head home. I sleep well that night.
But after some time, I go to the studio. As I pull the painting out of its box, my pride takes a hit. Something about the design isn't quite right. And the color seems a bit off. Hesitant, I heft the painting in my hands. Should I heave it into the recycle crate or try to save it?
Usually, when I bring a painting back from the field, it only takes a moment of consideration and a stroke or two to bring it to completion. (I give myself no more than 30 minutes to work on a painting this way.) But now and then, a painting calls for more than that. Because I think there's still hope for it, rather than scraping it down, I put it in a pile with other misfits.
This winter, we've had unusual weather for the Southwest—weeks of cloud and lingering snow. Since I didn't feel like going out to paint, I took the opportunity to go through some of my old plein air pieces to see if any of them could be redeemed. I pulled out a stack that had promise and decided to make my best effort.
And that's what this new blog series is about: Extreme Makeovers for Plein Air Paintings. I want to walk you through my process for each of them. Here's the first one.
 |
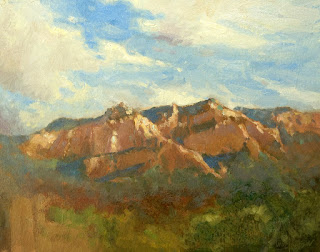
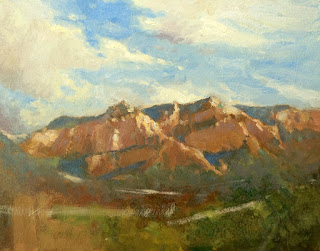
1. Original painting. I painted this in Sedona, Arizona, years ago as part of a plein air festival. I believe that I was enchanted by not just the mountain view but also the Italian-villa-style bit of architecture in the foreground. I was never quite satisfied with this painting, and I think it was because the building had as much interest as the distant mountains.
|
 |
| 2. Building wipe-out. Often, when not pleased with a piece, I'm not quite sure what the problem is. Not so here. I was fairly certain that the building is more of an obstacle for the viewer than a pleasing enhancement. My first action is to immediately paint out the structure. I also add a few tentative touches of a richer blue into the shadowed mountain vegetation; the scene seems overly warm and a bit muddy, so I'm working toward putting in some purer cool notes. |
 |
| 3. Foreground. With the building now gone, I can see that the mountains were indeed what first attracted me. This is already a big improvement. However, the foreground now becomes a problem; it doesn't have any topography to support the viewer "walking" out into the distance where the center of interest is located. I make a stab at introducing a pattern. |
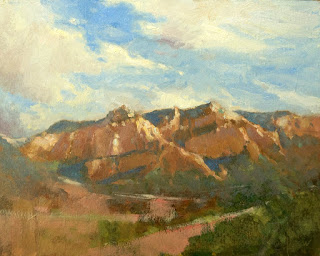 |
| 4. Patterning. The pattern helps, but it needs to be enhanced. Having hiked over this terrain countless times, I have a good sense of what to do here. (I find that an intimate familiarity with a particular landscape always helps the painting.) |
 |
| 5. More foreground work. I continue reinforcing the idea that this pattern is perhaps a road that follows a set of ridges that lead the viewer up. I plant trees and shrubbery to help the road come and go visually, providing a little mystery. |
 |
| 6. Into the mountains and sky. Satisfied that the foreground is now working with purpose, I move to the mountains. I sharpen edges, punch up highlights, giving the rocky ledges a more "rocky" feeling. I also think the sky needs a little work. It's a bit muddy, so I add some of the purer blue that now appears in the shadowed mountain vegetation and reshape the clouds into a more pleasing pattern. I also add more touches of blue into the mountain areas. |
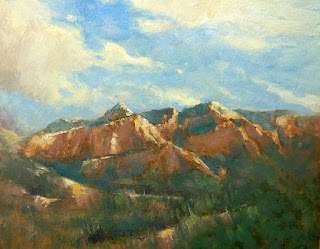 |
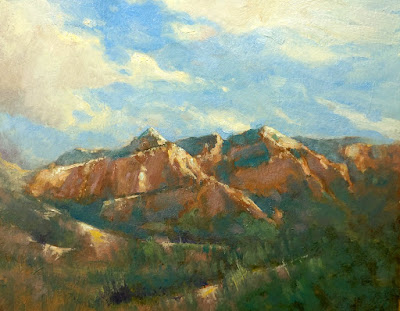
| 7. Finished. I add a few dark notes into the foreground to bring it closer to the viewer, enhancing the sense of depth in the painting. |
This "extreme makeover" went pretty quickly, as I knew right off the start what the biggest problem was. Once I corrected that, everything else seemed to follow logically, step-by-step. Not every painting needing a makeover goes this smoothly, as we'll see in upcoming posts.